The title is the perfect summary for this blog, and for today’s western world, and contains the three most coveted words: simple, fast, and easy. Three words one might not associate with beautiful fondant roses. Now, to be clear, fondant roses can be elaborate, beautiful works of art. While I know some cake artists will argue that they can make their flower’s rival the natural rose, I will not. I can only endeavor to resemble.
But, now I am going to tell & show you in true blog fashion how you can make your own easy rose. You can make it as big or as small as you like. The only tools you need are:
- fondant, this can purchased at Michaels, Walmart or a decorating supply company. It is sold in varying packaging, remember 4 oz will yield about 20 roses w/ nine petals.
- shortening, (aka crisco)
- a knife - a clean kitchen knife will do just fine; or a clean utility knife designated for food use only.
First, fondant: it does not like humidity and dries out very quickly. I usually break apart a nice handful of fondant and cover the rest with plastic wrap and stick it in a zip tip bag until I need it again.
When the fondant first comes out it is typically very firm and not pliable like you may have been expecting. That’s ok. It’s revivable. All it needs is some shortening - crisco works great. I generally add a finger-ful at a time, kneading it in, which is about a tablespoon or less. You want the fondant to be playable, smooth, not tearing or cracking when you play with it, like silly putty.
Once it is nice and happy roll it into a thin log (if your log is too long, remove the excess and cover it with plastic wrap). I suggest the diameter of the log be about an inch. *Note: the larger the rose you want the bigger the diameter should be.
Now, take your knife and slice even pieces - you want at least 8 pieces, but I suggest cutting many more. Lay out all your pieces on a non-stick clean surface (a silpat works great) and cover with plastic wrap.
Next take one piece and squeeze it between your thumb and forefinger. I rub a half moon shape with my forefinger against the fondant, so the outer edges are thinner and petal shaped.
To form the center take your first petal and using the top right edge (if you’re left-handed the top left edge), make a cone shape by crossing down and over.
(Personal note: don’t judge your center till you’ve completed your first rose. Then you can look back and decide if you like it or not. Also, practice makes perfect)
For the starter petals, one at a time repeat the above step in thinning and smoothing out the petal. Then cup the bottom and left side of the petal it around the base and cone, only slightly taller than the tip of the cone. Leave one side with a thin flap (this is where you next petal will start).
Generally after the first 3 petals, you have a rose bud.
Add more petals, a fuller flower. As you rotate the bud adding petals, try to make it so that the petal intersections do not align in every ‘layer’ of petals. As your rose grows and is getting more full, thin out the outer petals all the more when forming, so that they are larger, thinner, andmore delicate. *Note: This is when your inner artist comes out, depending if you want a more open rose, formal rose, closed rose, etc.
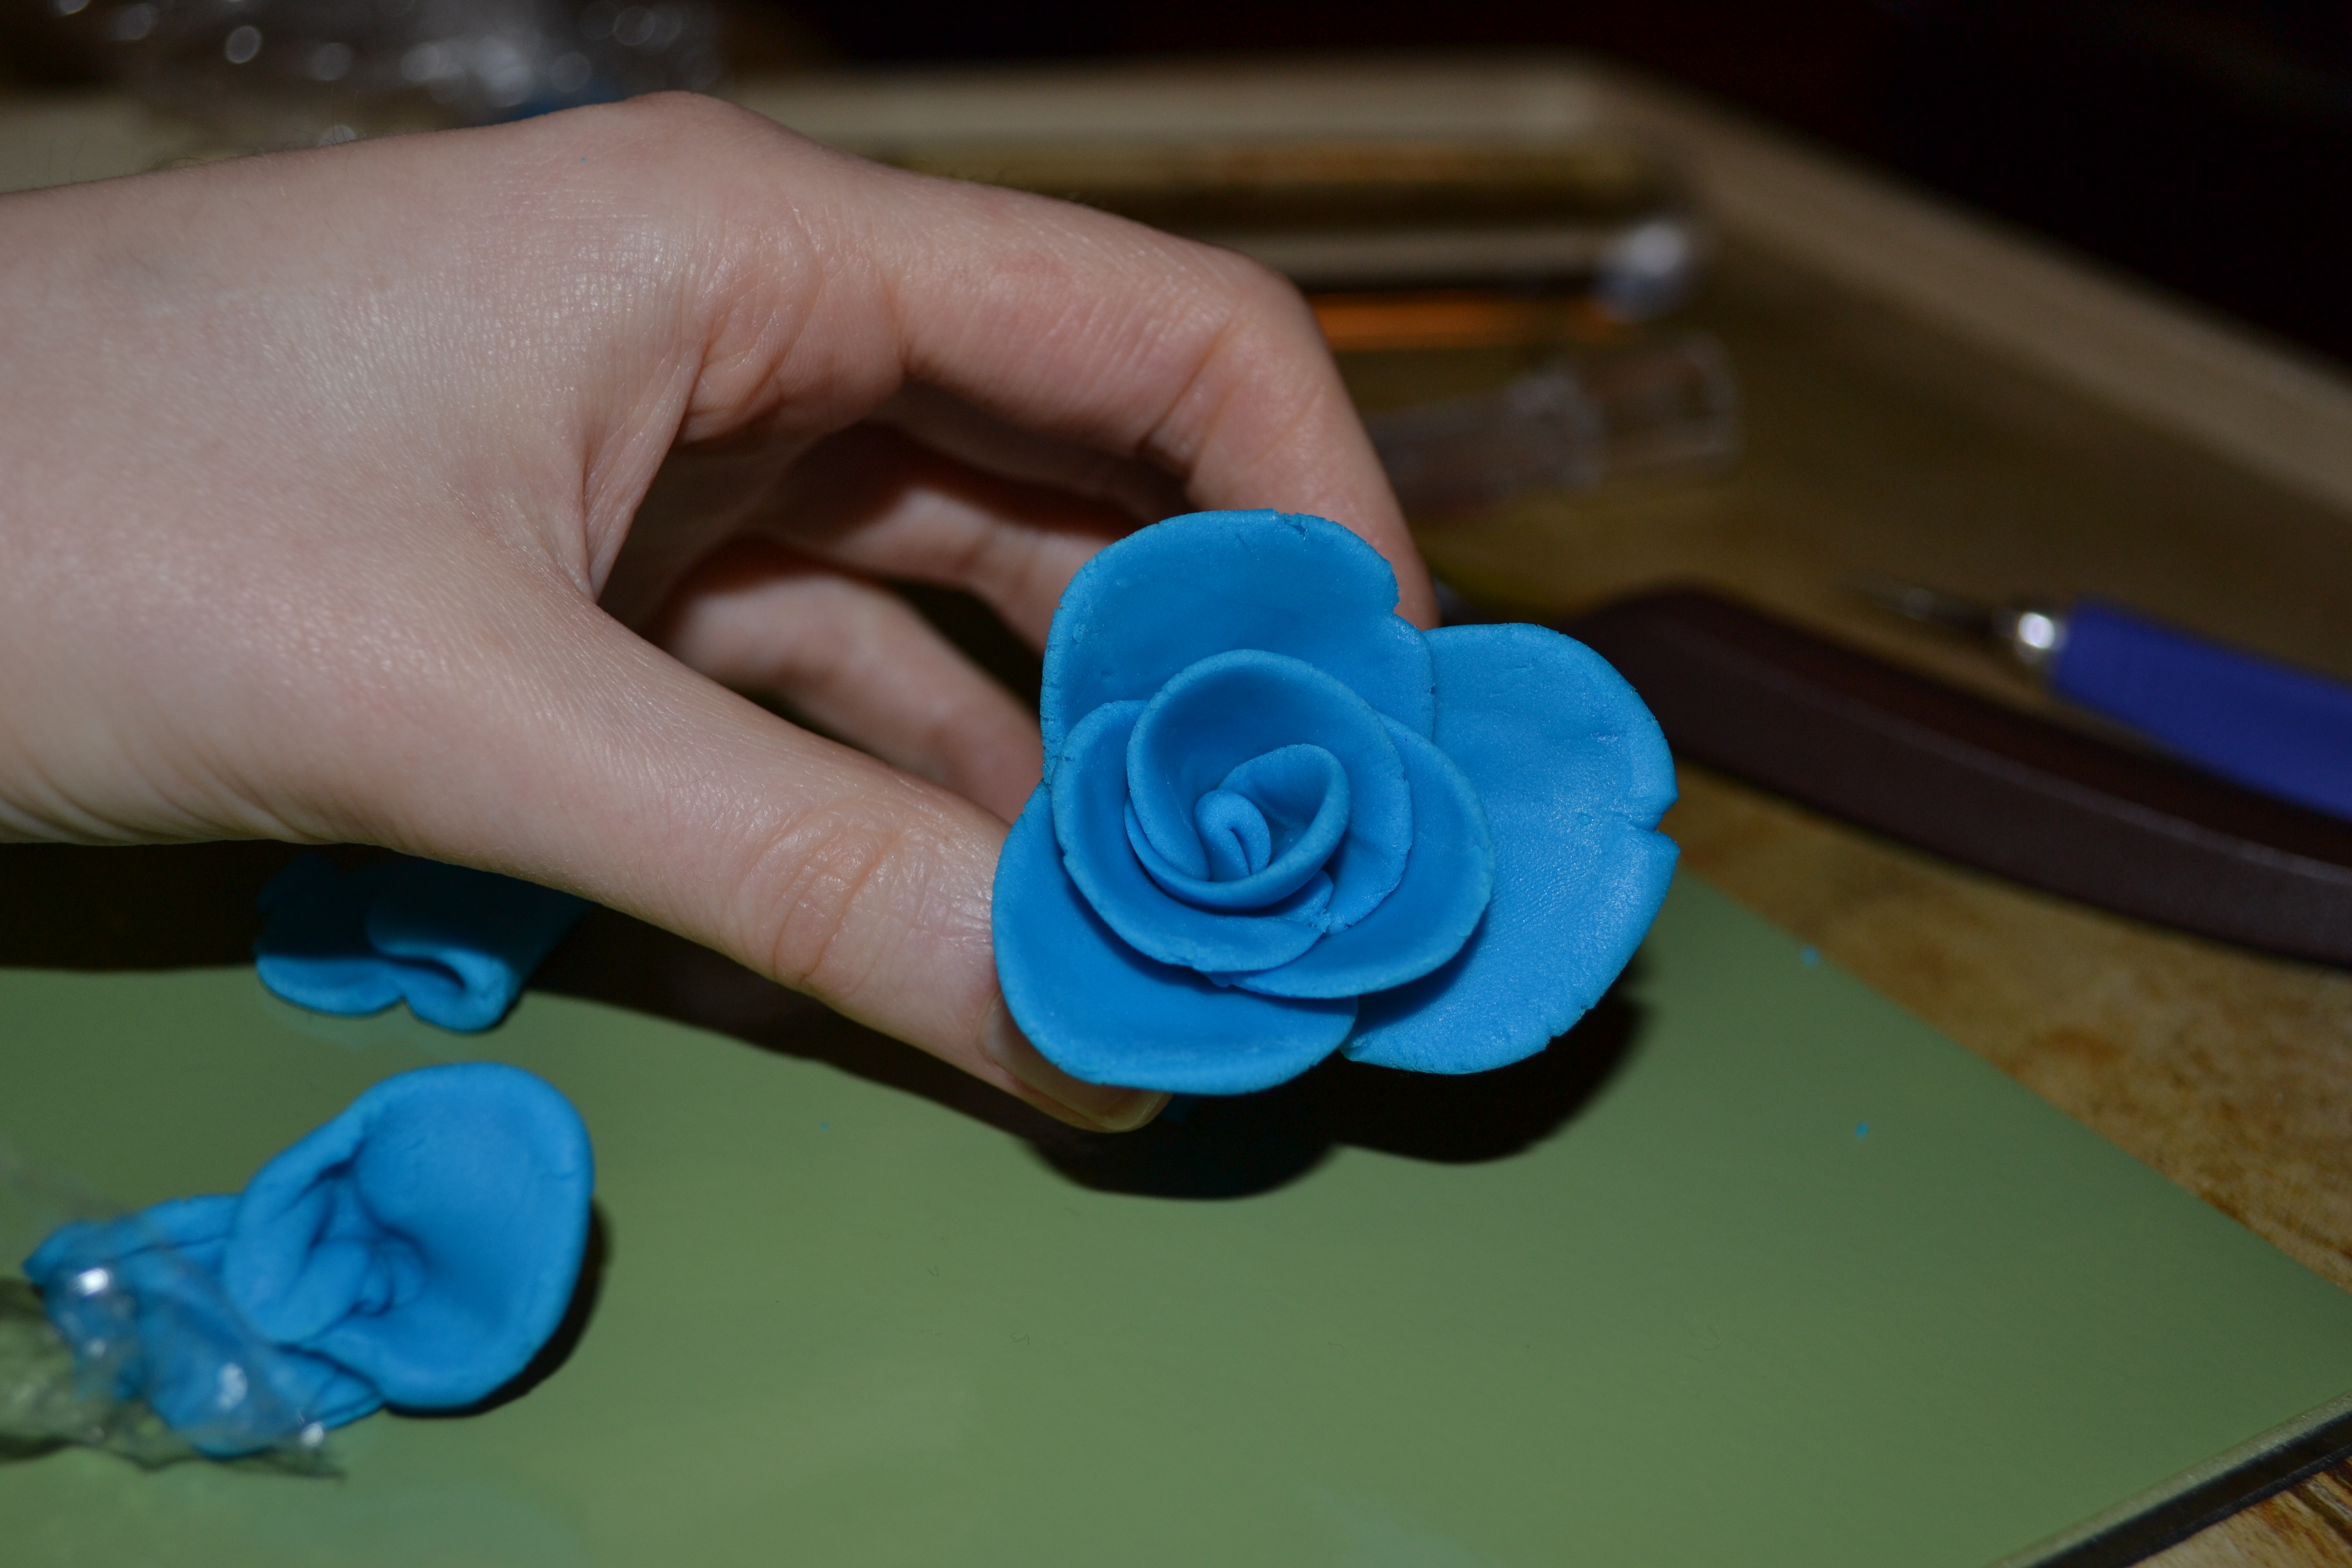
Make the rose as big as you like. I’m making a medium size. Once you are finished, sit back and ooh & ahh over your handy work!
Let the roses dry on a bumpy soft surface - like an egg crate or foam cushion, somewhere where it can be upright and soft enough for the petals to dry in their shape. To save your fondant, simple group all discarded pieces with any fondant put to the side, re knead it together to make a cohesive ball (you will most likely need to add shortening), and then wrap with plastic wrap and store in a zip-tie bag or air-free container.
Now, you may be thinking, that is not fast, easy and simple. Well, for one, my instructions are in the baby step. Secondly, do another couple of roses and you will see they come together much faster and much easier! Simple and by you! Perfect to adorn your next special dessert!!